Minggu, 08 September 2013
instalasi centos 6 + lusca
Ringkasan ini tidak tersedia. Harap
klik di sini untuk melihat postingan.
instalasi lusca di ubuntu
Tutorial Install LUSCA Proxy - Ubuntu Server
root@proxy:~#apt-get update
root@proxy:~#apt-get upgrade
root@proxy:~#apt-get install gcc build-essential sharutils libzip-dev automake1.9
Copy File Luscamu dan patch via winscp nak folder root
Extract LUSCA_HEAD-r14809 karo patch_luscawerewer mu
root@proxy:~#tar -zxvf LUSCA_HEAD_r14xxx.tar.gz
root@proxy:~#tar -zxvf patch_luscawerewer.tar.gz
Pindahno extract patch mau mau nak nggone folder LUSCA_HEAD-r14809 mu
Move to > root@proxy:~/LUSCA_HEAD-r14809#
Pasang patch mu dengan script nak ngisor iki
patch -p0 < luscaVaryrR14697.diff
patch -p0 < 3xx\ loop.diff
patch -p0 < ignore-must-revalidate.diff
patch -p2 < keblux-lusca-gzip.patch
Jalanno bootstraph mu
root@proxy:~/LUSCA_HEAD-r14809#./bootstrap.sh
root@proxy:~/LUSCA_HEAD-r14809#./configure --prefix=/usr --exec_prefix=/usr --bindir=/usr/sbin --sbindir=/usr/sbin --libexecdir=/usr/lib/squid --sysconfdir=/etc/squid \
--localstatedir=/var/spool/squid --datadir=/usr/share/squid --enable-http-gzip --enable-async-io=24 --with-aufs-threads=24 --with-pthreads --enable-storeio=aufs \
--enable-linux-netfilter --enable-arp-acl --enable-epoll --enable-removal-policies=heap --with-aio --with-dl --enable-snmp \
--enable-delay-pools --enable-htcp --enable-cache-digests --disable-unlinkd --enable-large-cache-files --with-large-files \
--enable-err-languages=English --enable-default-err-language=English --with-maxfd=65536
( ojo langsung di copy paste langsung nak terminal, soale kadang nak notepad error, isa copy dari Wordpad atau copy dari blod ini http://faisalsani.wordpress.com/2011/10/23/instalasi-lusca-head-di-debian/ )
root@proxy:~/LUSCA_HEAD-r14809#make && make install
change directory balik ke root ~#
root@proxy:~#nano /etc/squid/squid.conf
(ganti yang perlu diganti mas bro)
Metu teko folder root ~# nak /#
Gawe cache (Sesuai kebutuhan)
root@proxy:/#mkdir cache
root@proxy:/#chown proxy:proxy cache/
root@proxy:/#chmod 777 cache/
Melbu nak folder log untuk buat dolder squid
root@proxy:/var/log#mkdir squid
root@proxy:/var/log#chmod 777 squid/
root@proxy:/#cd /var/log/squid
root@proxy:/var/log/squid#nano access.log
masuk ke access.log -> Ctrl + O -> tuliskan nama access.log -> Enter -> Ctrl + X
root@proxy:/var/log/squid#chmod 777 access.log
Gaween Permission Denied , ben squid mu isa nge cache
root@proxy:/etc/squid#chmod 777 storeurl.pl
root@proxy:/etc/squid#chmod 777 squid.conf
root@proxy:/etc/squid#chmod 777 tunning.conf
root@proxy:/#nano /proc/sys/net/ipv4/ip_forward
(ganti 0 menjadi 1)
root@proxy:/#squid -z
root@proxy:/#squid -NCd1
root@proxy:/#tail -f /var/log/squid/access.log
nak pengen access log mu berwarna install ccze
apt-get install ccze

instalasi centos 5
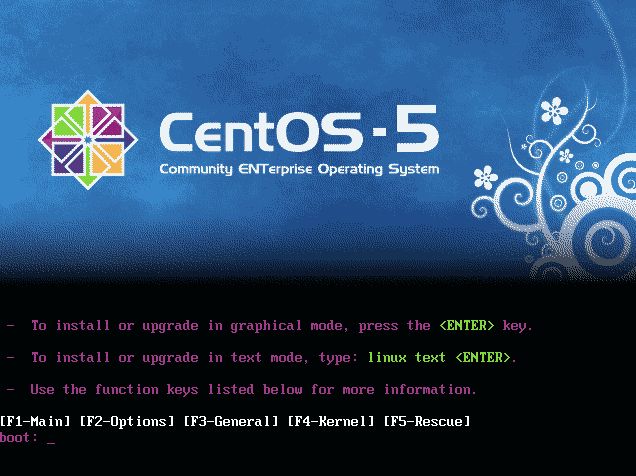
| [1] | Insert a Disc in CD/DVD drive and reboot computer. First, Following screen is shown, then push Enter key. |
|
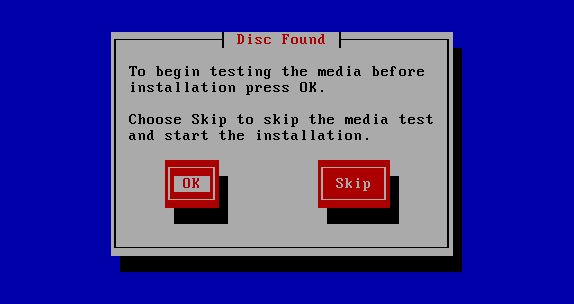
| [2] | Following screen is shown, CD/DVD is Checked in this section. It's so long, so Skip it. |
|
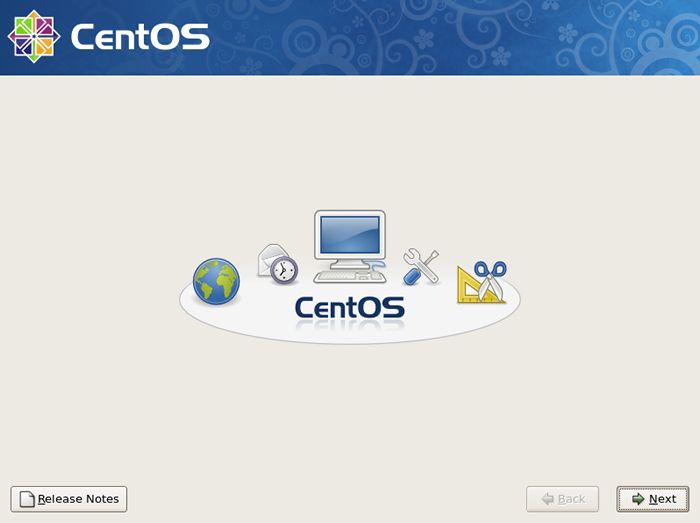
| [3] | Click 'Next' button to proceed. |
|
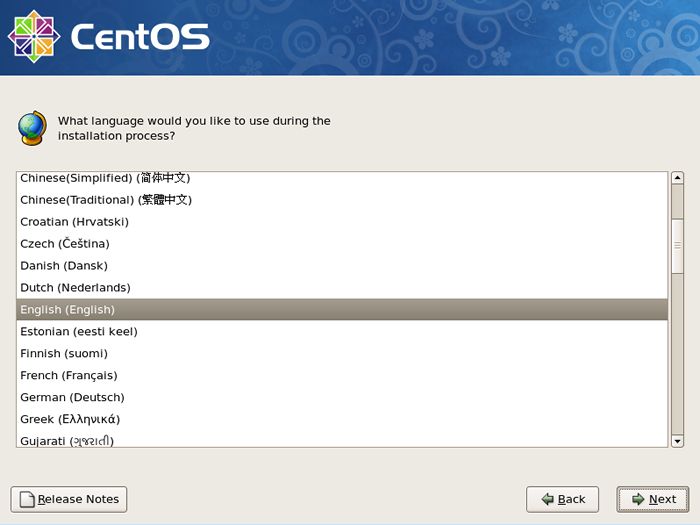
| [4] | Select the language that you want to use during the installation. |
|
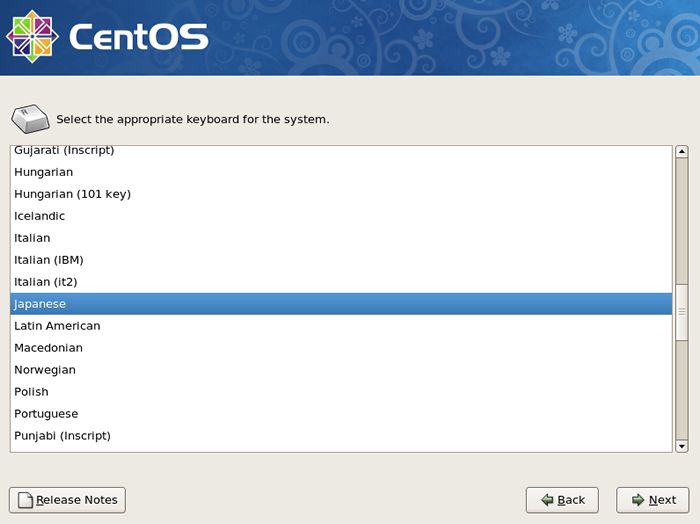
| [5] | Select keyboard type you using. |
|
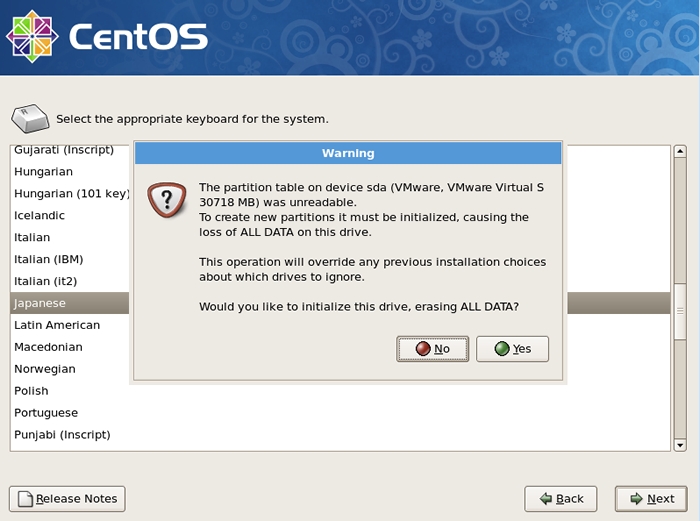
| [6] | Following window is shown. If all HDs on the computer don't have important datas for you, it's no ploblem. Click 'Yes' and proceed to next. If there are some datas that are important for you, Saving them to another HDs or CDs/DVDs first. |
|
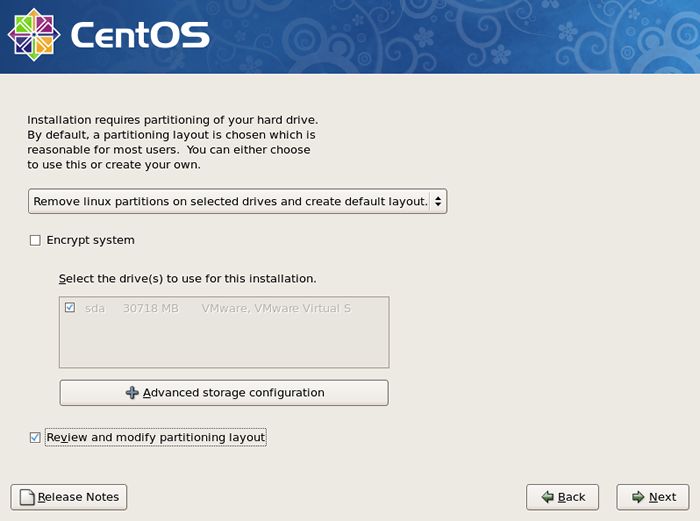
| [7] | Change partition layouts. Click the checkbox 'Reviw and modify partitioning layout' and proceed next. |
|
| [8] | Click 'Yes' if it's OK. |

|
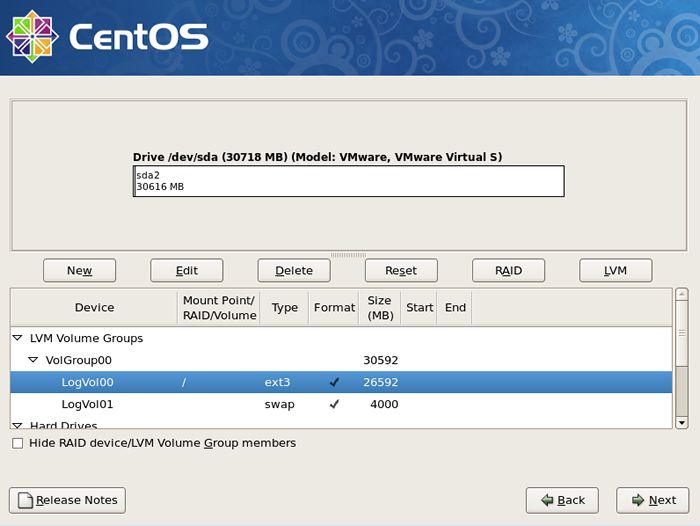
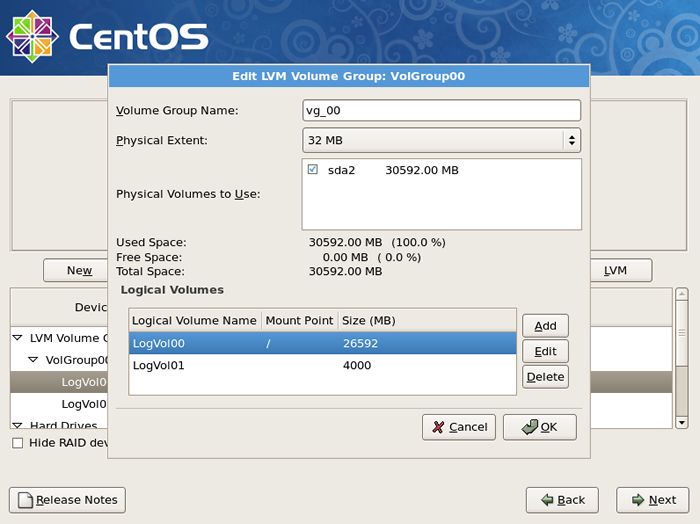
| [9] | This is the section for changing partition layouts. This example shows to configure LVM partition layouts (Set /boot, /. swap, /home on here) . First, select "/" and Click "Edit" button. |
|
| [10] | Focus on / and click "Edit" button. |
|
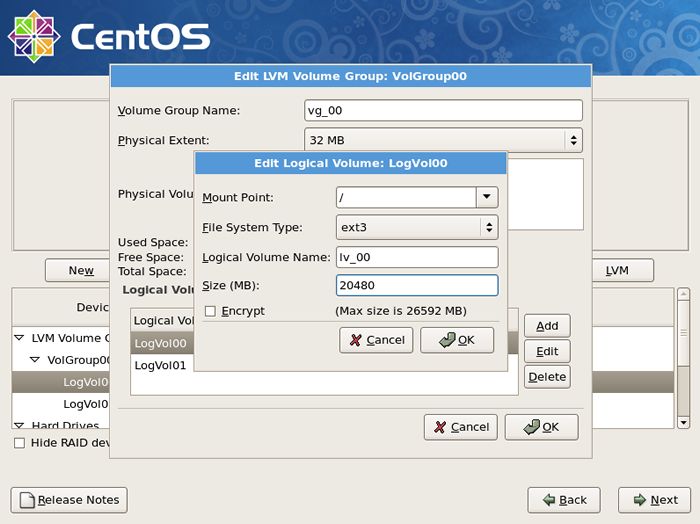
| [11] | Reduce the volume size for "/" to make free areas. |
|
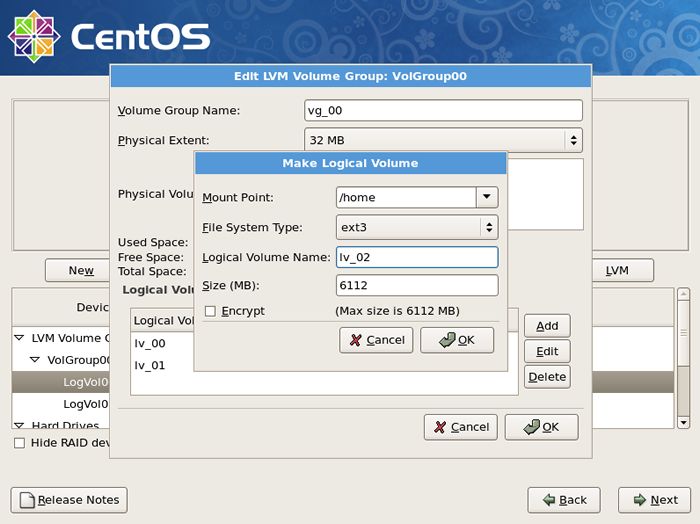
| [12] | Click "Add" button and input mount point, logical volume's name, size for /home. |
|
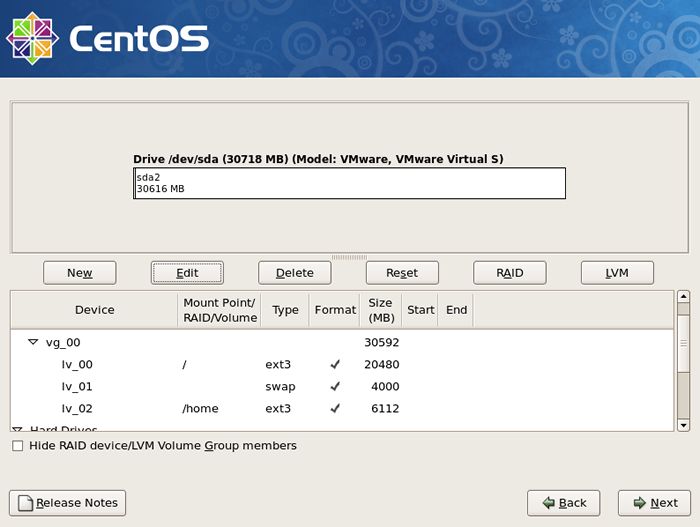
| [13] | Click "Next" button if it's OK all. |
|
| [14] | This is the bootloader section. Set configuration for boot loader if you need. |

|
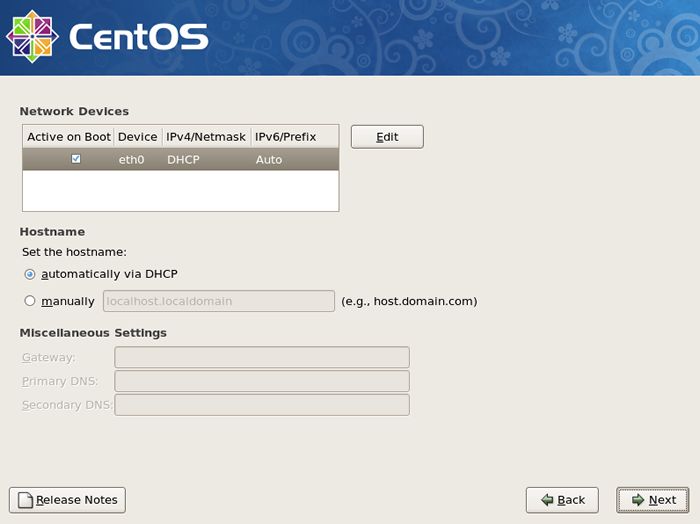
| [15] | It's the section to configure for networking. Click 'Edit' button to set config. |
|
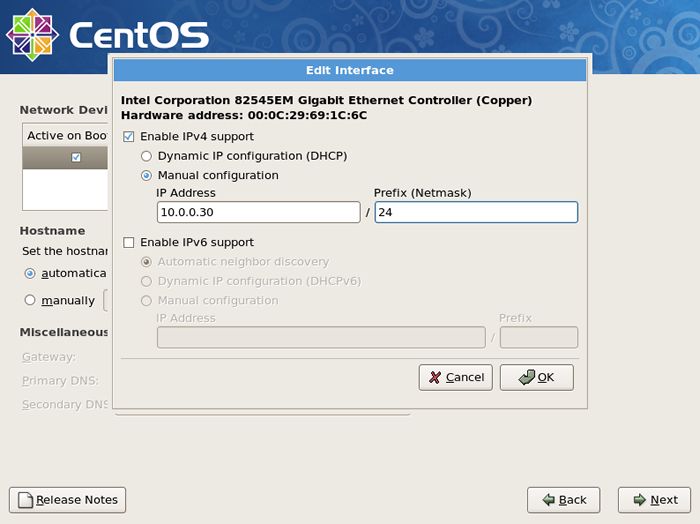
| [16] | Uncheck the IPv6 if you don't need to it. DHCP is unneccessary for server usage. And input your server's IP address in IPv4 section like below. |
|
| [17] | Input your server's Hostname as [(any name you like).(domain name you got)]. And Input the Gateway's and nameserver's address for your local network like below. |

|
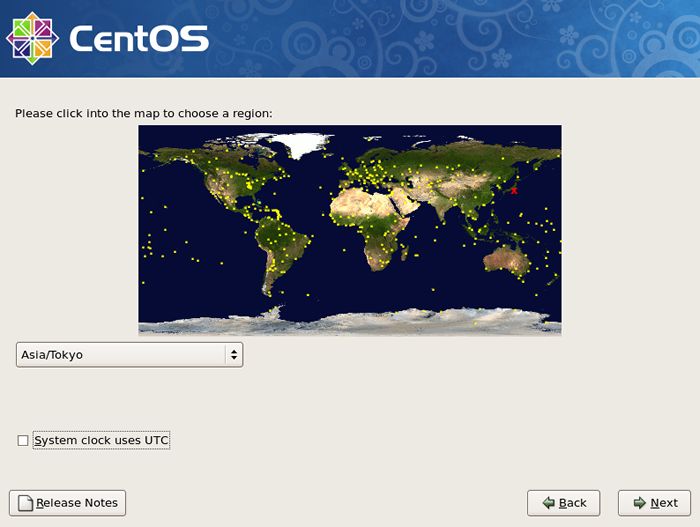
| [18] | Set your timezone and go next. |
|
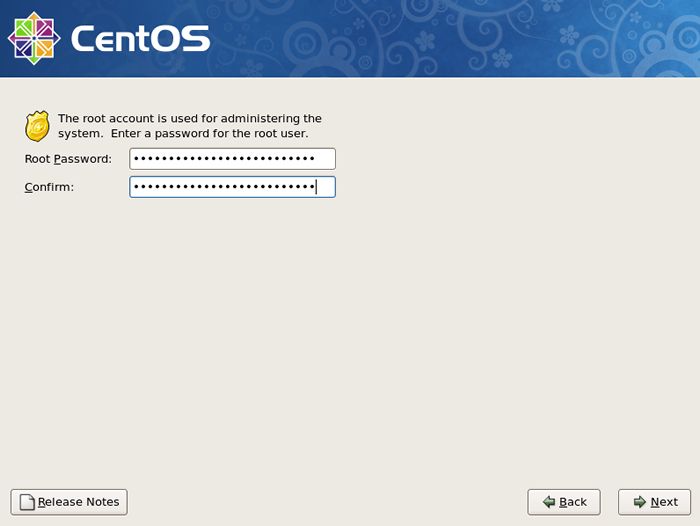
| [19] | Set root password and go next. |
|
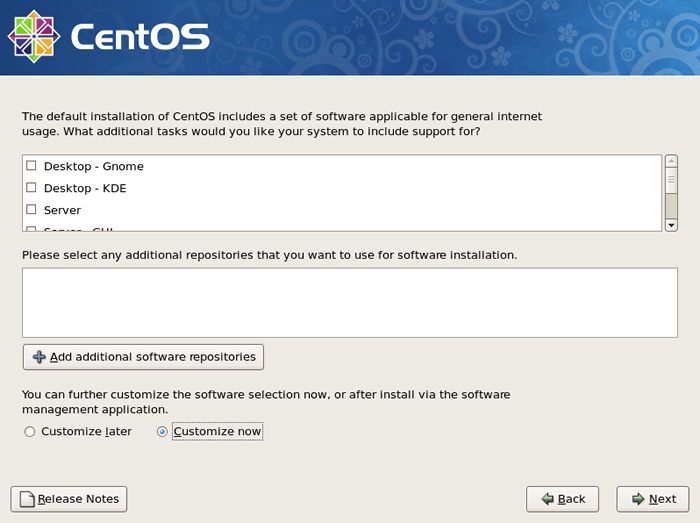
| [20] | This is the section you select softwares you would like to install. It's not recommended to install many softwares first. Check a box 'Customize now' and go Next. |
|
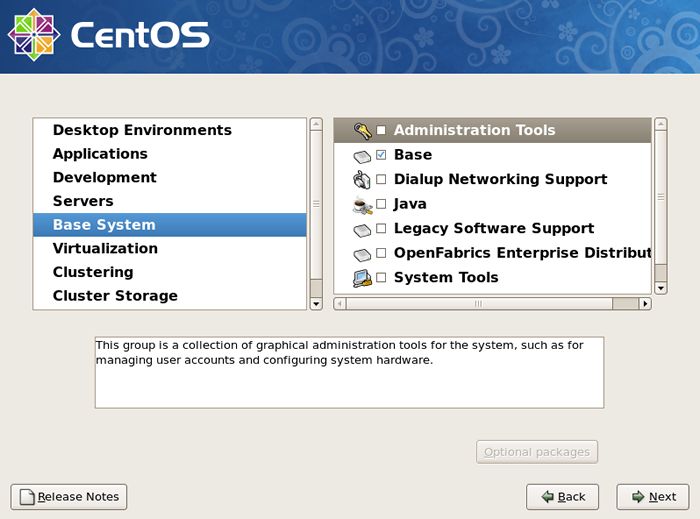
| [21] | Unckeck boxes first and Check a box 'Base' only and go Next. |
|
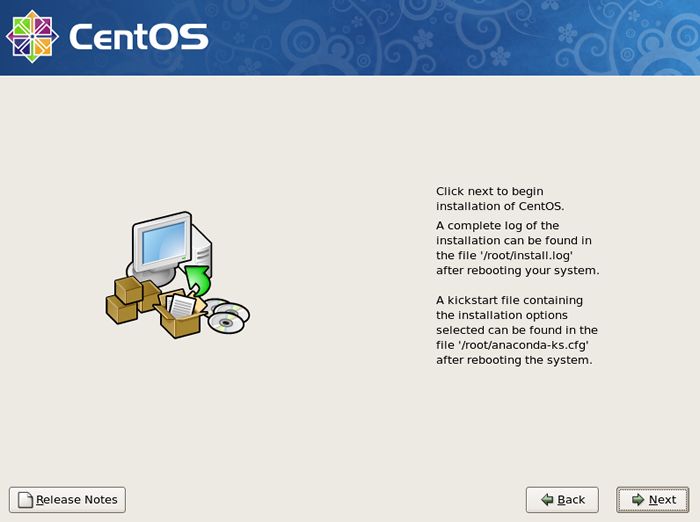
| [22] | Click 'Next'. |
|
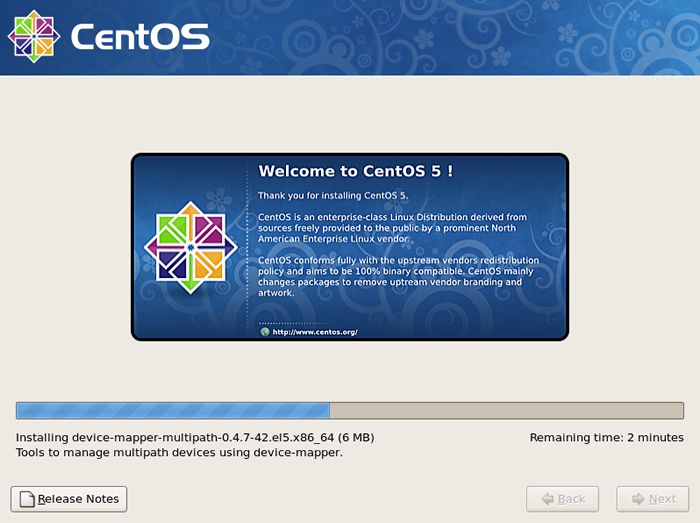
| [23] | Wait for a moment. Installing is just being done. |
|
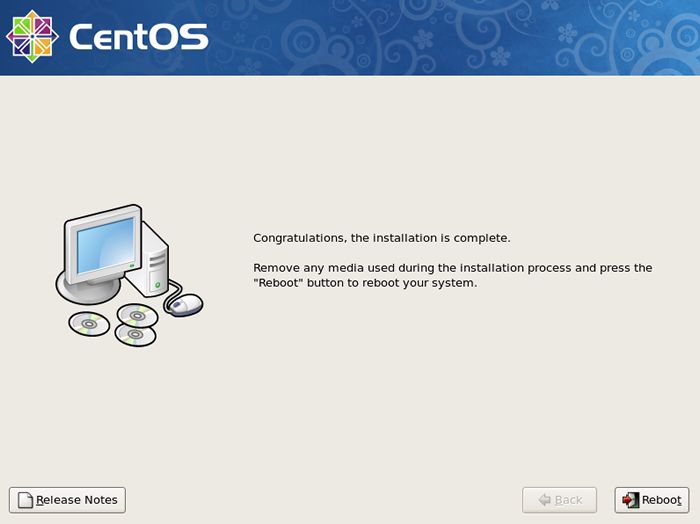
| [24] | Installation has finished. Click 'Reboot' button. |
|
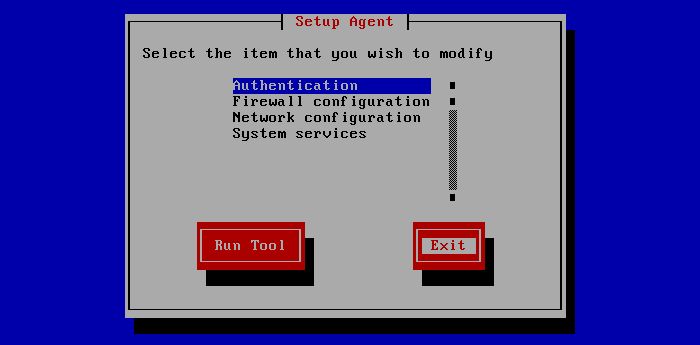
| [25] | The following screen is shown at first booting. It's possible to configure about following sections. You can enter this configuration mode later with a command 'setup' If you skip this steps now. |
|
| [26] | Booting has completed and login prompt is shown. Input 'root' as a username and push 'Enter' key, and next, Input password for root which you set during the installation. |

|
sumber :
http://www.server-world.info/en/note?os=CentOS_5&p=install
https://www.facebook.com/CentOS.Indonesia
Langganan:
Postingan (Atom)